Green Living Driveways
AnandaScapes • Oct 27, 2016
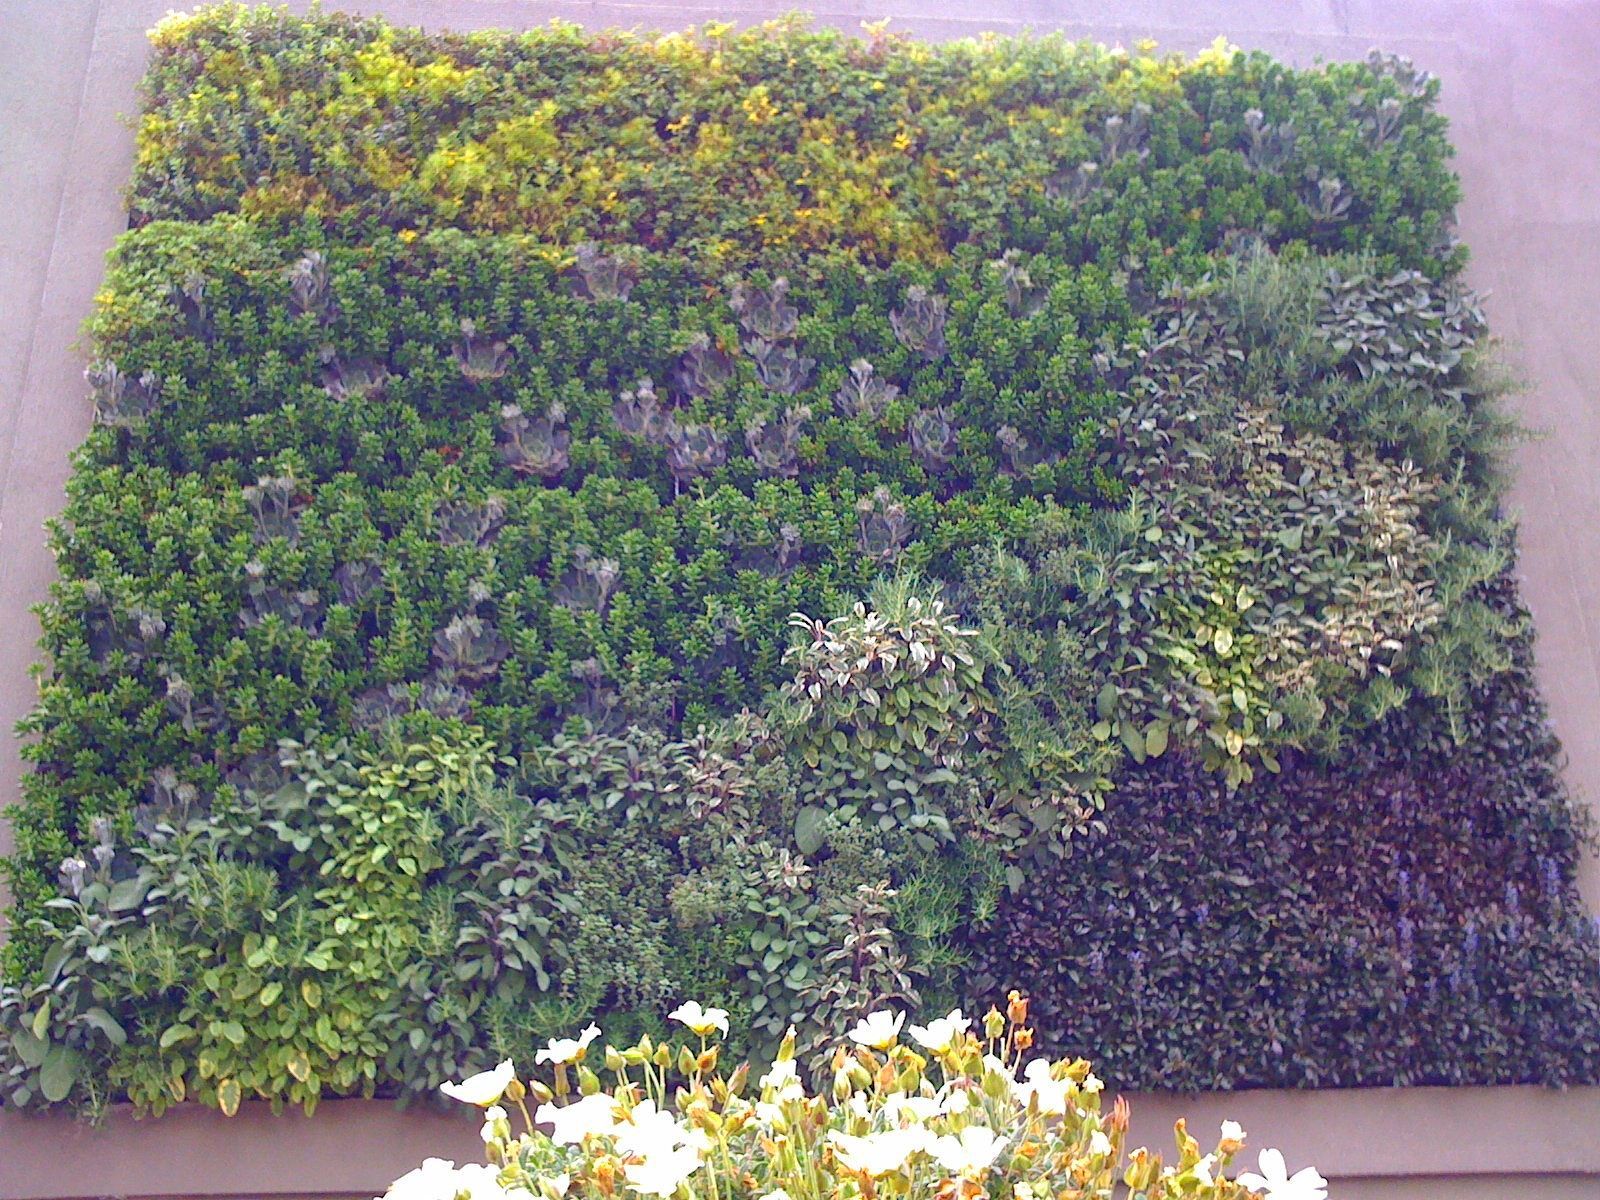
The Urban Garden V4: Green Driveways
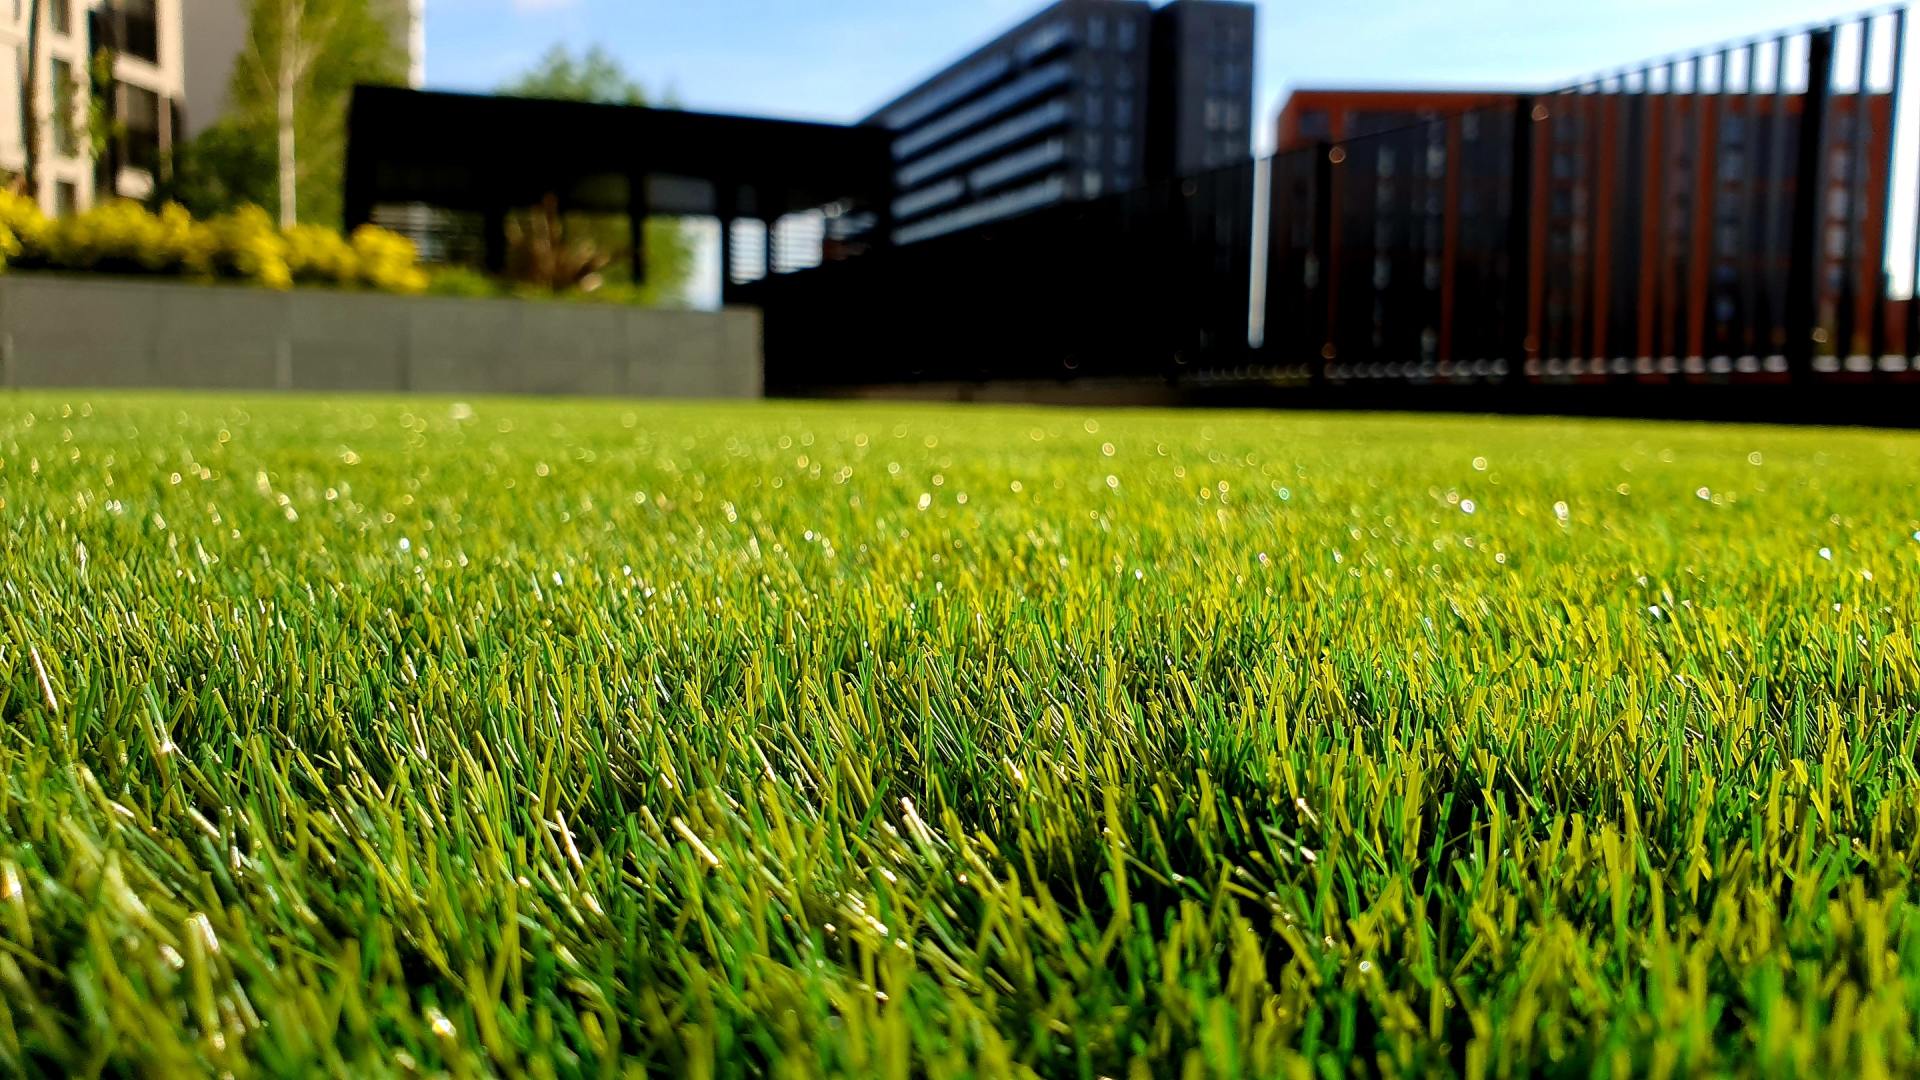
Ever wondered what to do with your cracked, worn out concrete or black top driveway? Well instead of re-pouring concrete, why not look at turning that grey driveway into a living, green driveway.
In the past, only honeycomb cement blocks and other cement like materials were available, but today we can use recycled PVC cell pavers. Recently I designed a green driveway using Grass-Cel Pavers. Some of the other brand names are: PermaTurf, EcoGrid, Golpla, Flo Cell, GeoTurf BodPave 85, and many others. Your contractor can find these systems a local irrigation wholesaler. Grass-Cel Pavers are an exciting product that lends itself to many new techniques in landscape design.

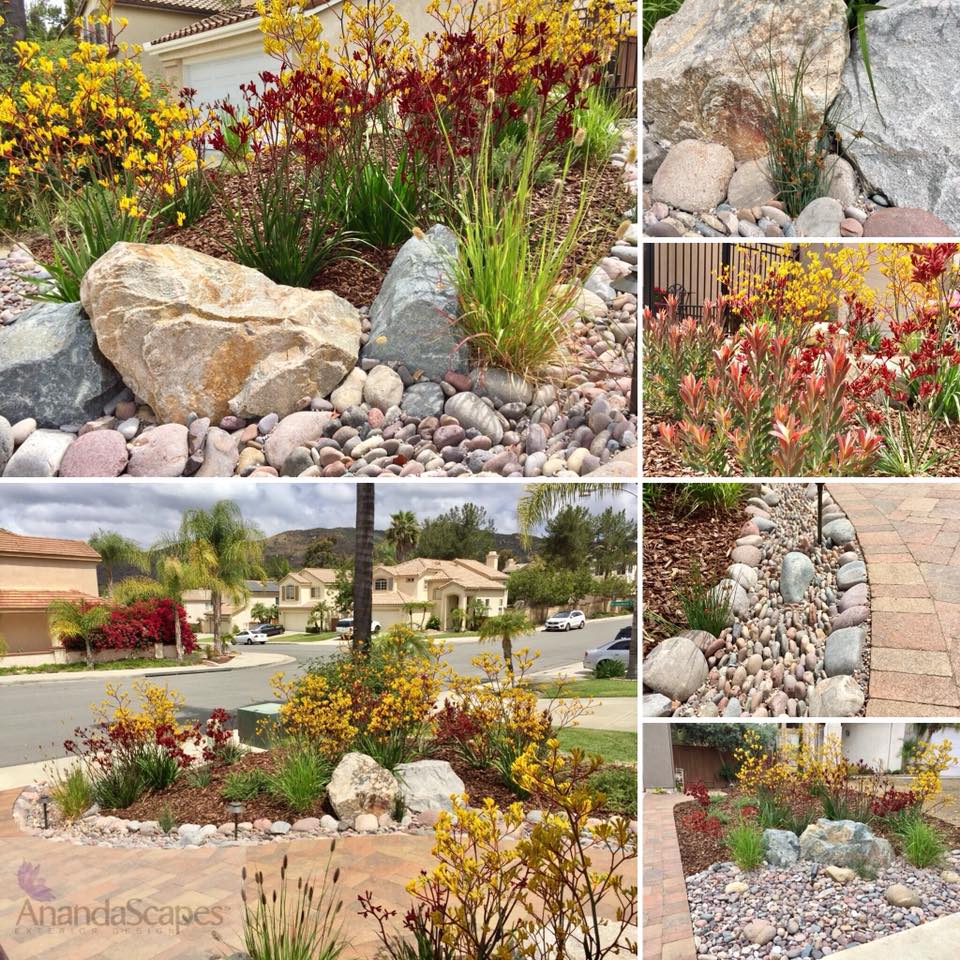
In my Xeriscape landscape design as seen above, I looked outside of the box, fore going grass as the planting medium and instead I use Dymondia margareitae, Carex comans 'Frosted Curls', Carex praegracilis California Meadow Sedge.
To make the drive more interesting, I highlighted the edges with taller plant material, and used more of the sedges in the center of the drive, keeping the wheel wear area only in dymondia.
Should you decide to use other plantings rather than grass for these paver cells, make sure your plants have sallow roots, and/or use rhizomes to proliferate. Also use plants that can take medium traffic. Another important note is that these driveways are not parking lots. Keeping a car parked over living material will prevent photosynthesis and the plants will parish.

There are many different products out there to help support your vehicle and allow turf to grow but recently I designed a green driveway using Grass-Cel Pavers. Some of the other brand names are: PermaTurf, EcoGrid, Golpla, Flo Cell, GeoTurf BodPave 85, and many others. Grass-Cel Pavers are an exciting product that lends itself to many new techniques in landscape design. The honeycomb structure makes each piece strong and durable.
Each honeycomb cell has a round opening at the base. Air, water and nutrients move through these holes to the soil below. Grass roots extend through these holes, binding the Grass-Cel Paving Blocks to the surface. The slot provided in the walls of each cell allows roots, stolons, and rhizomes to move freely from cell to cell. The longer time that this paving is down, the stronger the surface becomes. The vertical walls of the honeycomb cells are engineered to support all traffic, preventing the soil within the cell from compacting.

Each paver system may vary in price but usually a pallet of 340 pieces costs about $1000.00. With road grade gravel, sand, soil and labor you are looking at $9.00 to $12.00 a square foot installed. We found the Grass-Cel Pavers at a local irrigation wholesaler. It is very important to follow installation instructions, which involves removing soil about 6" deep in your new green driveway area, then laying out about 2 to 3 inches of compacted road grade gravel, followed by 2 inches of sand before laying out the pavers. Creating a stable and well-drained surface is key to the longevity of the green driveway. Again your contractor will make sure no steps are missed.
Grass-Cel Installation Information
NOTE: In all installations, the Grass-Cel Paving Structures will only be as stable as the base upon which it is placed. Some soils are unstable and special steps should be taken to stabilize the area before putting down Grass-Cel Paving. It is important that the base material firmly supports Grass-Cel Structures as well as provides good drainage and promotes grass root penetration.
In large installations of Grass-Cel Structures; such as fire lanes, access roads, parking areas, etc., a qualified soil engineer should be consulted. Soil profiles vary throughout the world. An engineer can recommend the size, type and quantity of base material to be used on the specific job situation. Local building codes should also be checked.
STEP 1: Soil Preparation
Average Area: Using a flat shovel or sod cutter, remove existing soil or sod to a depth of 1½". Soil should be loosened to provide a firm, porous base for the Grass-Cel Structures. Apply a good starter fertilizer, work in lightly and level the area. The base for the Grass-Cel Structures, after leveling and lightly firming, should be 1-½" below the adjoining soil surface.
Unstable Area: Soils that remain wet may need drainage to stabilize them. The superintendent in charge can easily determine the best way to stabilize these soils.
Important: Sand, heavy clay, or excess organic matter can create an unstable base for Grass-Cel paving and should not be used.
STEP 2: Grass-Cel Assembly
Each Grass-Cel Structure is 13" X 12½" X 1½". When pieces are locket together, they form a continuous grid of cells.
Observe that each section has two sides parallel to each other with uniform indentations ("A") these sides measure 13" in length. The other two sides ("B") have three projecting cells and measure 12½". (See Illustration).
When assembling the Structures, match and connect "A's" first. DO NOT OFFSET THE STRUCTURES. They must be assembled in uniform straight rows.
Connect the Structures by joining them together at about a 20° angle-tabs will slide into the receiving slots. Locking tabs and receiving slots will not match if not line up uniformly.
After completing the first row, assemble the second in the same manner. DO NOT CONNECT THE TWO ROWS UNTIL THE SECOND ROW IS COMPLETELY ASSEMBLED. Assembly of the second row should be done in front of the first row.
When the second row is completed, side B will be facing the first row. Lift the adjoining edges of both rows and snap together.
Grass-Cel Structures can be assembled only in STRAIGHT ROWS. When curves are encountered, continue laying Structures in straight lines. Move over one or more complete spaces on curves.
NOTE: DO NOT ASSEMBLE STRUCTURES OFF CENTER. TABS WILL NOT MATCH.
Fill in corners with cut pieces. Grass-Cel Structures can be cut with ordinary wood or steel saws. They can be shaped, drilled, nailed, and filed to fit any space.
STEP 3: Planting Methods
IMPORTANT: DO NOT OVERFILL THE CELLS. Since the walls of the structures support traffic, soil must be below these bearing surfaces. Do not install Grass-Cels on compacted soils. Loosen the soil so that roots can penetrate deeply.
Sodding Method: After Grass-Cell Structures are properly installed, sod can be laid on top of the Structures and pressed in.the most popular and quickest method of establishment.
Use only good quality, thatch-free sod. IMPORTANT: Soil thickness of the sod should be no more or less than one inch. Cells overfilled with soil will cause the sod to protrude above the cell walls and cause excessive wear.
Lay sod evenly over the empty cells. Press it into the structures with a power or hand roller, golf cart, or hand tamper. Do not top-dress or add soil to the top. Roots will begin to develop in the spaces below the soil. Keep moist until the sod is well rooted.
Seeding Method: After Grass-Cels are installed; properly fill with a good sandy loam soil. Back rake excess soil so the pattern of the cell walls are clearly visible. Soil will settle allowing space for the grass plants. After the turf is established, if the soil has settled too much, light top dressing can be applied. Again, do not overfill.
Turf can also be established in grass cells by filling with aerator cores, sprig and stolons mixed with the soil. When grasses with large seed are planted, mix soil and seed together and fill cells with the mix.
The Urban Garden will bring you the newest technologies to green, urban gardening and landscaping.
It is my hope through this series of articles; you will be inspired to look to new directions in sustainable gardening and landscaping practices.
The face of San Diego is changing as water diminishes and urban spall continues to grow. Be inspired and make a change
Drinking responsibly is a term we often hear associated with our favorite Cosmo or Lite Beer, but not often associated with our lawns